(1) comment
Add Your Reply
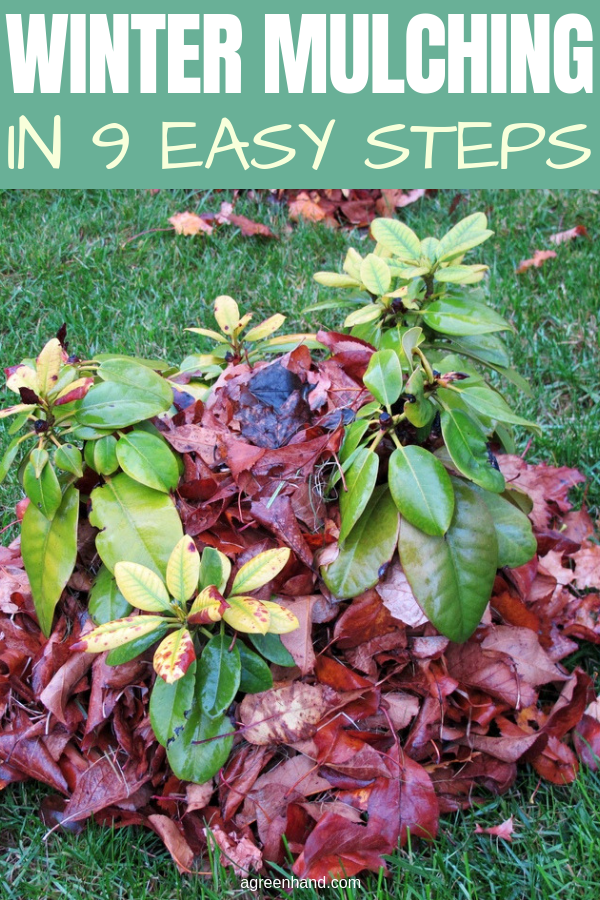
Winter mulching is one of the key activities for the thriving possibilities of your garden. It will also lessen your gardening tasks when springtime comes.
But how do you do it? You need to do winter mulching at the right time and use the proper techniques to get the best results. Different plants need different kinds of mulching materials for optimal growth.
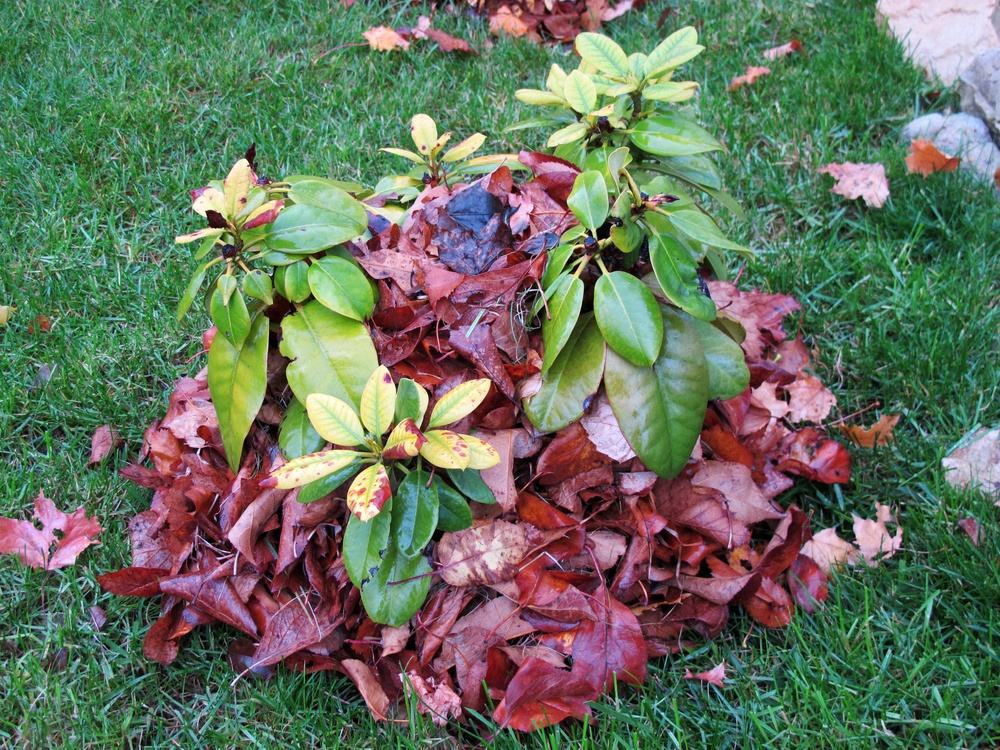
Mulching serves different purposes every season. In winter the primary use is to protect the plants from being damaged or even uprooted by the winter rain, snow, and wind. It also serves as a source of nutrients for the plants and as a preventive measure against weeds. It warms the soil and retains moisture throughout the cold season.
Apply your winter mulch only after the first hard freeze. That’s when the temperature falls below 28 degrees F. Applying too late will increase the risk of your plants being damaged by the cold wind. Meanwhile, mulching too early will cause injury and weaken the plant. The mulch will also encourage rats to form a cozy shelter in your garden. After the first hard freeze, rodents will already be settled somewhere else.
Bark chips for trees, shrubs, and tomatoes: Bark chips are great because they don’t decompose easily. They give a steady supply of nutrients for the trees over time.
Pine needles for ornamental beds and shrubs: The acidic nature of the pine needles is best for ornamentals and shrubs.
Evergreen branches for tender shrubs: The evergreen branches provide a great insulation and protection for tender shrubs during winter.
Shredded leaves for ornamentals, vegetables, perennials, and bulbs: It is best to shred leaves for these types of plants for them to decompose easily. This way, the vegetables and bulbs can easily pop up when spring comes.
Whole leaves for vines like squash and pumpkins: For vines, there is no need to shred the leaves. Because when decomposition is slow, more nutrients can be derived longer.
Straw for vegetables and strawberries
Sawdust for blueberries and raspberries
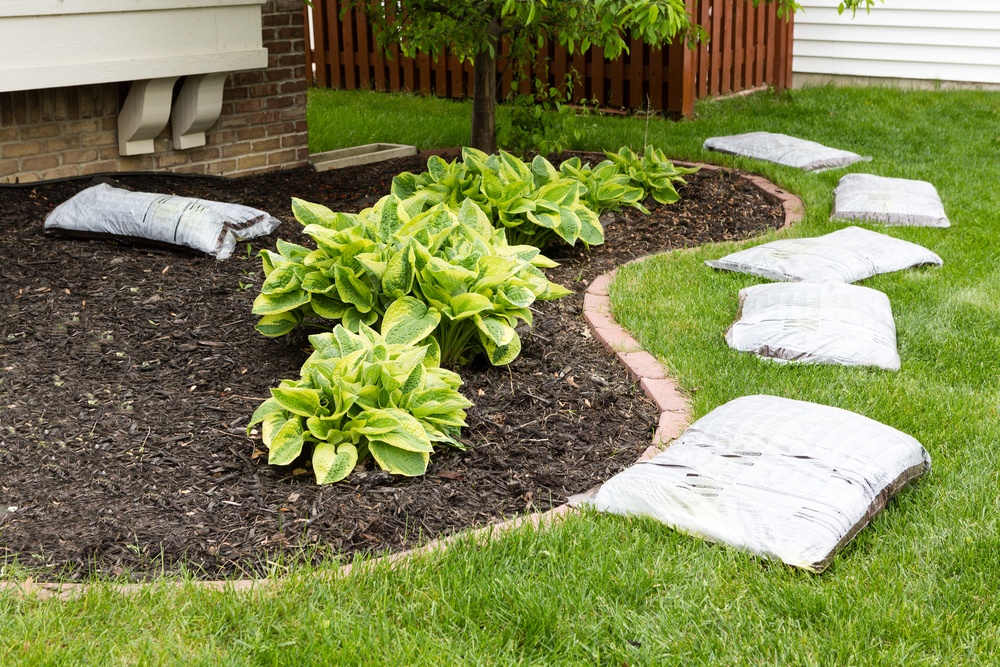
Try to secure the ideal mulch as mentioned above. Some of the materials can be easily gathered from your garden or bought from a gardening supply store.
This will save you from the task of watering your mulch after application. It is important to get the mulch wet so that your mulch won’t be easily blown away by the wind.
Remove large weeds and other debris within the site where you’ll put the mulch. If you put mulch on snow days, the first thing you need to do is blow snow around the tree. After a while, heavy snow will cause the roots to become "choked" and frozen, so the mulch will not work. You also need a lightweight snow blower to do this job. Refer to my article for choosing a suitable snow thrower or snowblower.
It is recommended to leave at least 1-2 inches space around your plants. Create a clear space of 3-4 inches away from the base of shrubs and 6-12 inches around trees.
If you’re using fine materials like sawdust and shredded leaves, make your mulch 2-4 inches thick. For coarse materials like hay and bark chips, your mulch layer should be 3-6 inches thick.
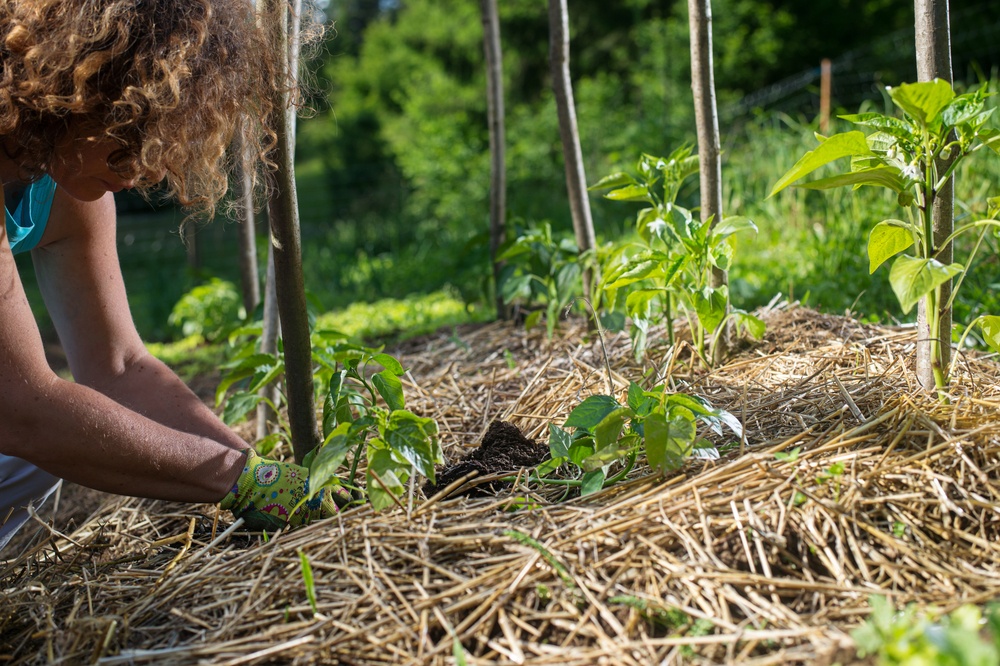
Using a garden rake or your gloved hands spread the mulch so that every portion of your beds is covered.
A single layer of mulch may not be enough for crops such as broccoli and spinach. For these heavy feeders, you can combine 4 or 5 layers of organic materials to achieve sufficient mulching. Stack and damp the materials until you reach 6 inches thick of coverage. After that, reinforce insulation with a burlap sack.
After spreading all your mulch, sprinkle them with water if it’s not going to rain. This will make the mulch cling to the soil better.
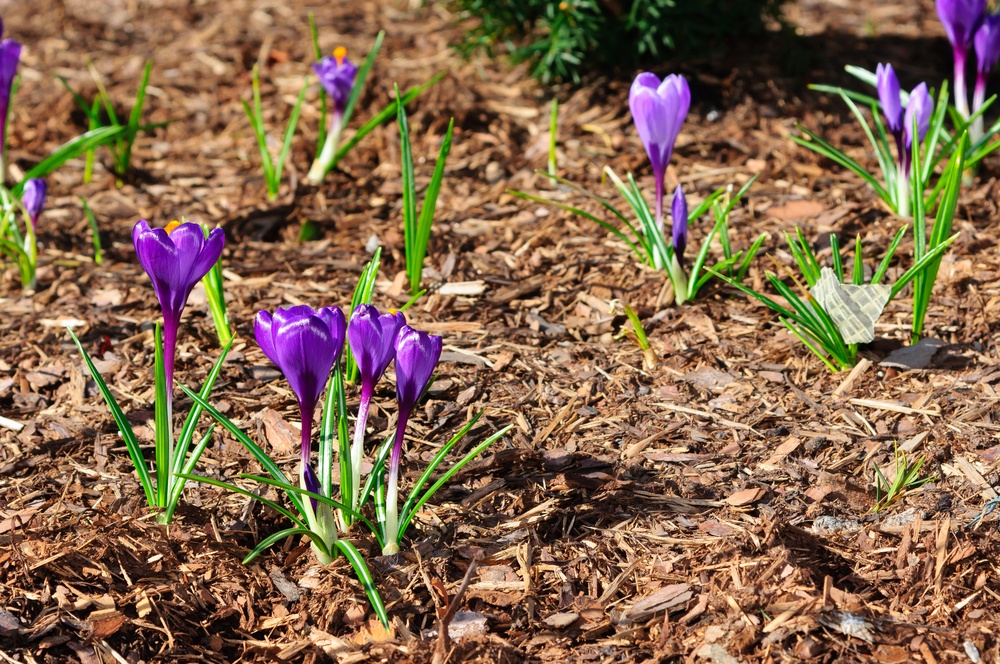
Mulch which has decomposed completely can be left in place even after winter. For beds needing to be warmed in early spring like vegetable beds, it is best to remove winter mulch after winter.
Winter mulching is your best defense against the winter nightmare to your plants. Aside from the protection it gives from the chilly weather, it also serves as a way to retain moisture, provide nutrients for your plants, and keep weeds away from your garden.
You have plenty of options to serve as your winter mulch; leaves, wood chips, and straw are just a few. To ensure the maximum benefit of mulching, you have to use the right type of mulch as stated above.
Did you find this tutorial helpful? Let me know what you think in the comment section! If you liked this article, feel free to share it!
Pin It!