Menu
I’ve noticed that when I’m mowing the grass that my fist gets kind of beat up with the lawn mower tire and and there’s still grass lights left behind, then I have to come over and wheatie. So what I’m gonna do is dig a trench and put some bricks under it for the lawn mower tire to ride over and not bang up the fence anymore.
The first step is we’re gonna put a line out so that we can put our bricks up against it and they’ll all be straight and won’t be wonky when we’re done.
I put the stakes in the ground and we’ll wrap the string around. The string will be our line. But before that we need to determine the length of our bricks, the inner quarter.
I want the bricks is that flush with the 4×4 post on the backside of the fence so we’re measuring eight and a quarter inches from the post and setting a stake. We’ll do this on both ends of the fence. We’re gonna wrap this string around it. The string comes out on the inside of the stake.
Next we’re pulling our string from one end of the fence to the other. This will act as a guideline for the trench we’re about to dig out.
We’re setting a string on both sides of the fence, now we’re ready to dig out the trench for our bricks to set in. You may want to take the bed to the shovel and just go down the line and break up the dirt. And we’ll scoop it out to the depth for the bricks.
We don’t want it to be too deep though so we’re gonna dig two and three-quarter inches down so the bricks will be half an inch from below the fence. So what we’ll do is just take some dirt from my side and fill it in.
Now we have the dirt all level underneath the fence, we can lay our bricks. I have different colors half of red and half of or the lighter color so on an ultra NATO bricks are a great way to add an old-world charm to almost any project.
I always prefer to use old salvaged bricks over new ones not only our new bricks expensive but in my opinion, they have much less character. There are a number of ways to find old bricks. If we had to cut any bricks we could use a hammer and cold chisel or a circular saw with the masonry blade.
It’s as simple as setting alternate colored bricks one after the other while placing them against our guideline. Just kind of tapping the bricks to compact the dirt underneath, but also make sure they’re level with each other.
Make sure your brick border is level as you go. Once all the bricks are set, we fill in the gaps with the dirt we were moved earlier. This will make everything look uniform but also keep the bricks from shifting.
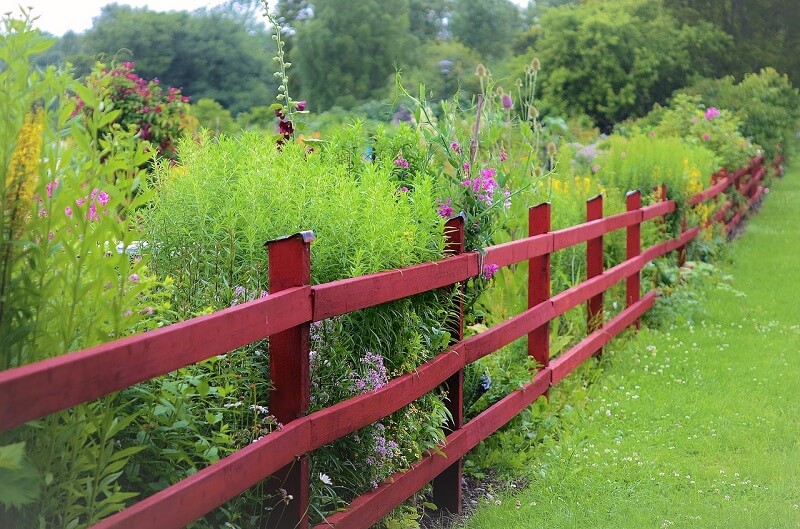
Finally, after removing the string and stakes, our brick border is complete now. It’s time to test out new border by mowing the lawn with a self-propelled lawn mower. This works out great for me since it gives me time to add a waterproofer to the fence and bricks. This will provide them with a protective coat that discourages mildew growth and I think that turned out pretty good.
Here is a video about Brick Fence Border to Stop Grass and Weeds
