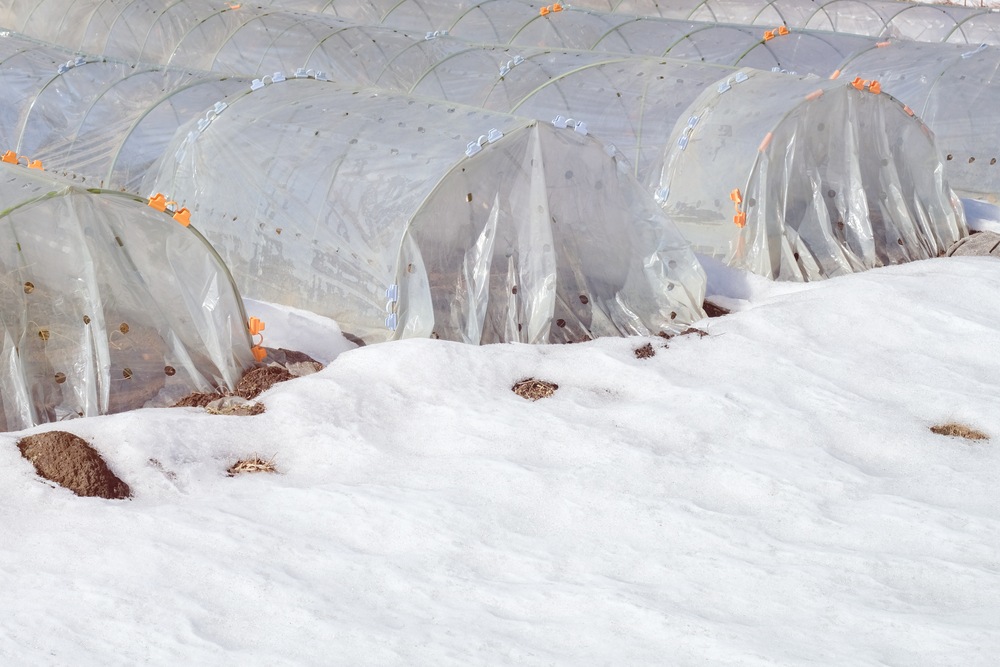
You want to extend the growing season even in the frozen winter? You want to taste the juicy fruit, fresh vegetables? You don’t know how to deal with this severe weather?
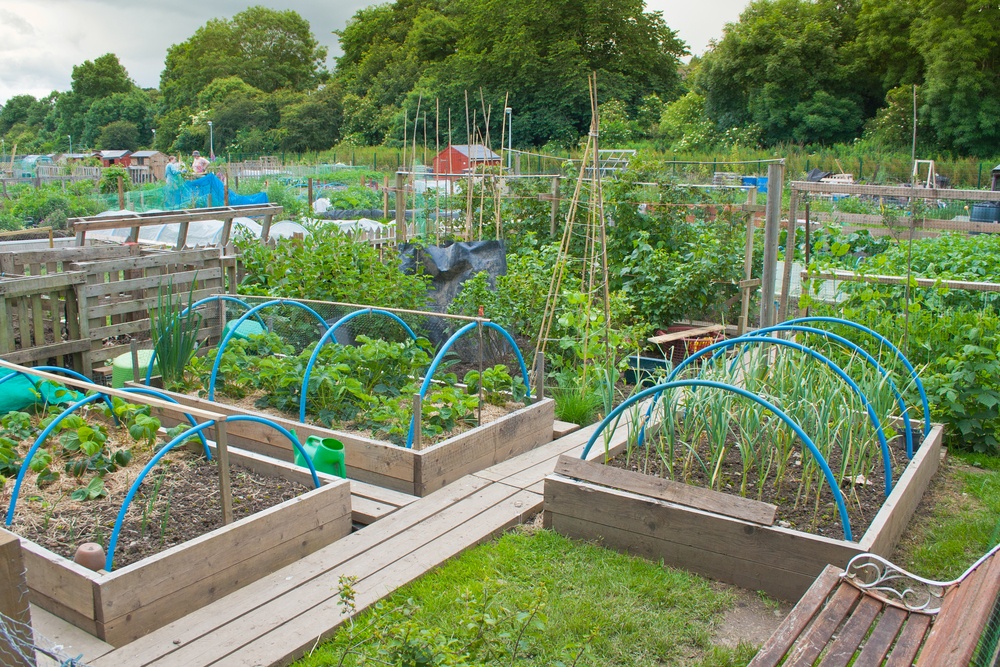
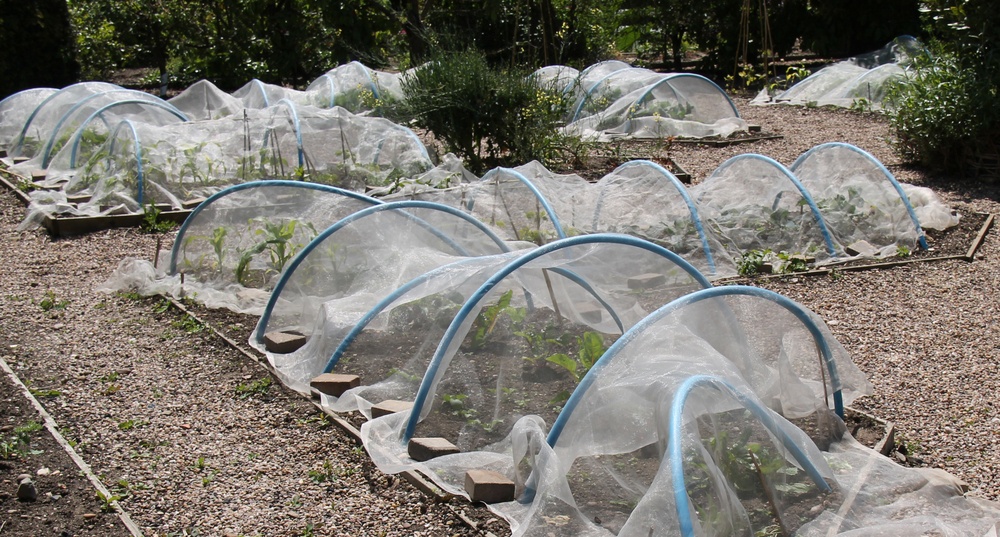
A good solution is to build your own hoop house. It can protect crops from external unwanted elements. You can even grow tropical plants such as succulents and orchids. Hooray for orchid lovers! Let’s find out how to build it in your own now!
Hoop houses are comprised of hoop or bow series. These hoops may be made from metal, word or plastic pipe. The skeleton is then covered with a plastic which are designed for green houses. The plastic covering is stretched or fastened well to the base of the house using wood or steel wire.
These may cost you a fortune when done by specialists. Thus, it is beneficial to create your own. Provided below is the procedure of how to build a hoop house (for winter gardening).
Preparation

#1. Preapare Materials and Tools for Your Dreamed Hoop House
You only need a few materials and tools. Make sure that you utilize appropriate tools to aid you in building your hoop house:
- Shovel
- Thermometer
- Garden hose
- Pruners
- Tape measure
As well as some materials listed:
- PVC pipe with 1 inch by 20 feet dimensions (16 pieces)
- Rebar with 3/8-inch thickness and 3 feet length (32 pieces)
- Lumber with 1x2 measurement
- Lumber that is pressure treated with 4x4 measurement
- Steel wire
- Plastic sheet which is UV resistant
- Conduit clamps or plastic strapping with wood screws
- Duct tape
After getting the required materials and tools, you can now commence with finding the right location and constructing your hoop house. The next sections provides the actual steps on how to build a hoop house (for winter gardening).
#2. Selecting The Location
In selecting the location, you should prefer a place with flat ground. This area should not be surrounded by building, trees and other structures that may cast shadows on your hoop house.
Using your tape measure, you can map out a rectangular area on the ground to define your hoop house base. The rectangle must measure 16 by 40 feet and preferable run from east to west. This will provide the best sun exposure to the plants.
Also, make sure that the corners of the house form a square. The diagonal measurement shall be equal to 43 feet. Push a rebar measuring at three feet to the ground of each corner. Leave around a foot of rebar protruding.
Main Steps
Step 1: Install the PVC Pipe

Using the 16-foor PVC pipe, stall one side to your rectangle lay-out. While bending the PVC pipe to form an arch, install the other end to the opposite side in front of the stakes of rebar.
Remember to carefully install the PVC pipes as they are springy. Accidents may occur should they spring out and hit someone nearby.
Every five feet, insert your rebar pieces by pairs. Leave approximately one foot protruded. Repeat the process until you reach the back of the hoop house. Repeat the installation of PVC pipes on the other rebar pieces until you reach the end of the area.
Step 2: Attaching the Spine
Glue 20 feet PVS pipes together using a join compound for PVC. You should be able to create three pieces of pipe measuring at 40 feet.
Place one of the 40-foot PVC pipe in the middle of the arches. By placing this at the underside of the pipe to the arches, it acts a spine of the house. You can secure the pipe by coupling them using a steel wire. Wrap the wire and criss-cross the loop on the intersection between the arched and spine PVC pipe.
Step 3: Prepare the Plastic Sheet

Using your duct tape, attach the other 40-feet PVC pipe to the edge of the plastic sheet. You may roll it a few times to securely keep them intact.
Repeat this process on the last 40-feet PCV pipe and the other edge of the plastic sheet. You can now start laying out the plastic on top of the hoop house skeleton. This will act as the skin of the house.
Remember to stretch the skin well so that it is centered and no excess material is lying on the sides of the hoop house. Tuck the plastic sheet on the corner in between the frame and ground. Repeat this process on the other side.
To act as the opening, you can attach a frame on the start of the hoop house. You can then cover it using the same plastic sheet from the top to bottom, not including the interior of the frame. This will act as your doorway.
You no longer need to wonder about how to build a hoop house (for winter gardening) because we have you covered. You just need to gather the required materials and follow the step-by-step guide enumerated above.
Hoop houses are great when you want to grow plants even during winter. You can add a covering inside the hoops to provide extra protection from the cold weather. Some of the crops that grow well during the winter season are kale, lettuce and spinach.
We recommend you to try making one today in preparation for the colder months. With this, you can easily and effectively grow your plants even on a cold weather.
Pin It!


