During the winter season, snowfall can become so heavy that it impedes mobility for both cars and people. Not only does this reduce overall visibility, but it can also lead to minor accidents. Thus, it is essential to remove significant snowfall as soon as possible.
Thankfully, you do not have to spend a lot of money for a new piece of snow-clearing equipment. With this guide, you can have a homemade snow plow that works as good as one assembled in a factory.
If you still want a snow clean machine to deal with the hard snow layers, but do not want to spend too much money, you can refer to the 2 stage snow blowers under $1000 in this article.
How To Have A Homemade Snow Plow
Using The Loader Bucket and Drilling Holes
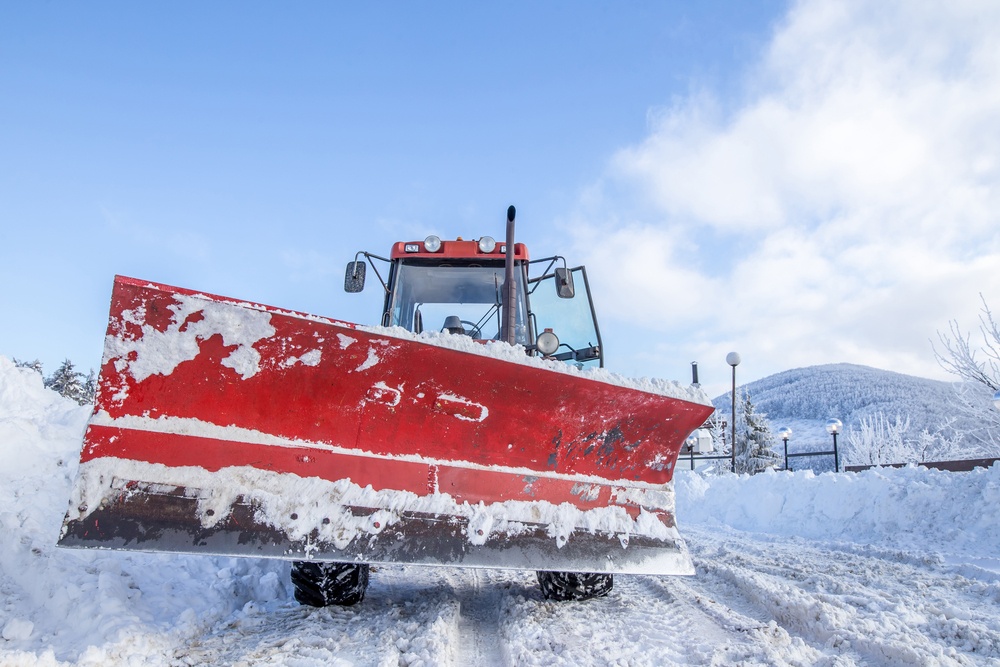
The most important thing you need to have to create your own snow plow is a tractor. First, you need to know is whether you want to permanently convert your loader bucket into a snow plow or not.
This will determine what happens to the tractor’s loader bucket. If you still intend to use the bucket for other purposes other than snow plowing, the mounting operation should be simple enough for quick dismantling.
Now, the edges of the loader bucket should be attached with either straight steel brackets or angle iron pieces. If you are going to use the latter, each one should already contain holes. Likewise, the brackets to be used for mounting should have mounting holes. You can quickly distinguish which holes are for mounting by making a small line using a permanent marker.
For increased stability, you can put the brackets in the center of the loader bucket. However, this should only be done if you will permanently convert the bucket. The next step is to drill the holes into the edges of the loader bucket.
All of the bolts located outside should contain both lock washer and nuts. On the other hand, the inside of the loader bucket will have bolt heads with a flat washer underneath them. Do not forget to ensure a tight fit of each nut and bolt by using a wrench.
Tightening The Parts
The tractor’s loader bucket must be completely covered with either bedliner or sheet metal. The bedliner should at least be cut into two equal sheets using a circular saw. As for the sheet metal, it can be divided into at least six equal sheets using a metal blade. Regardless of which one you use as a cover, they should extend for about six inches beyond the sides of the bucket. This extension will improve the overall stability of the snow plow.
By now, you should have a fairly decent plow blade. It can be further stabilized with several hex bolts and nuts placed around its edges. Similar to what you did with the mounting brackets, the bolts here should have flat washers. This will improve the overall fit of the layers.
Mounting The Blade
The last step is for you to mount the blade to the loader bucket of the tractor. Mark the areas of the bracket that will be drilled for mounting. Whether you are using steel brackets or iron pieces, they should all be threaded with hex bolts measuring at least four inches long.
For a reinforced grip, you can also apply traditional hex nuts. Moreover, each individual bolt head should have a relatively thick and durable flat washer. After this, you should have a fairly strong snow plow made from a tractor.
Just like with any machine, do not forget to check it for any loose parts. The plow blade will experience wear and tear in the long run, so the overall tightness of the bolts should be tested.
We hope this helped you in making your own snow plow. If you have any queries, do give us a comment.
Pin It!