(1) comment
Add Your Reply
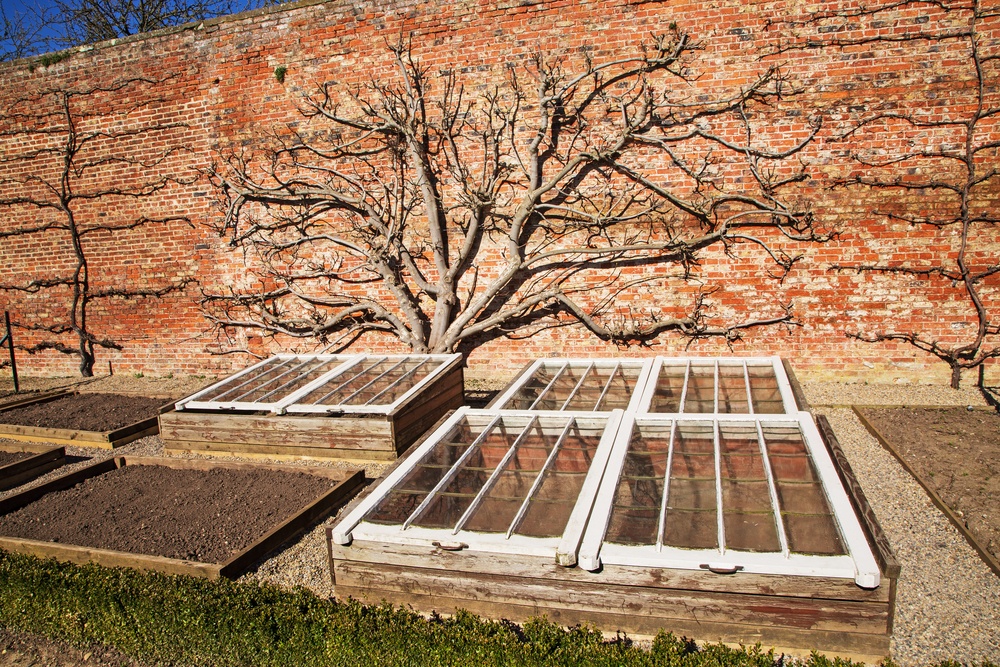
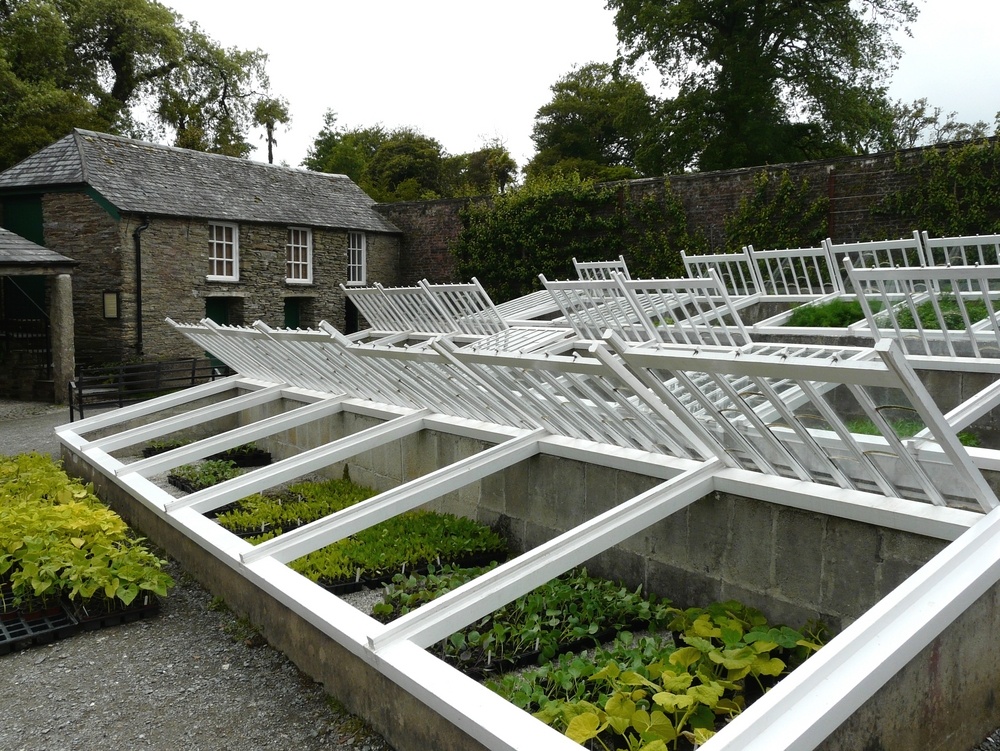
A cold frame is a bottomless box placed over plants for protection from intense weather. These boxes are built on the lower part of the ground and utilize a transparent material for the roof. If you wish to grow plants even during cold weather conditions, cold frame gardening (for winter) is an effective method to pursue.
#4. Attaching The Lid To The Box
Because of its weather protection capability, these retain heat which can extend one’s gardening season. Here are some of the reasons why you should use cold frames:
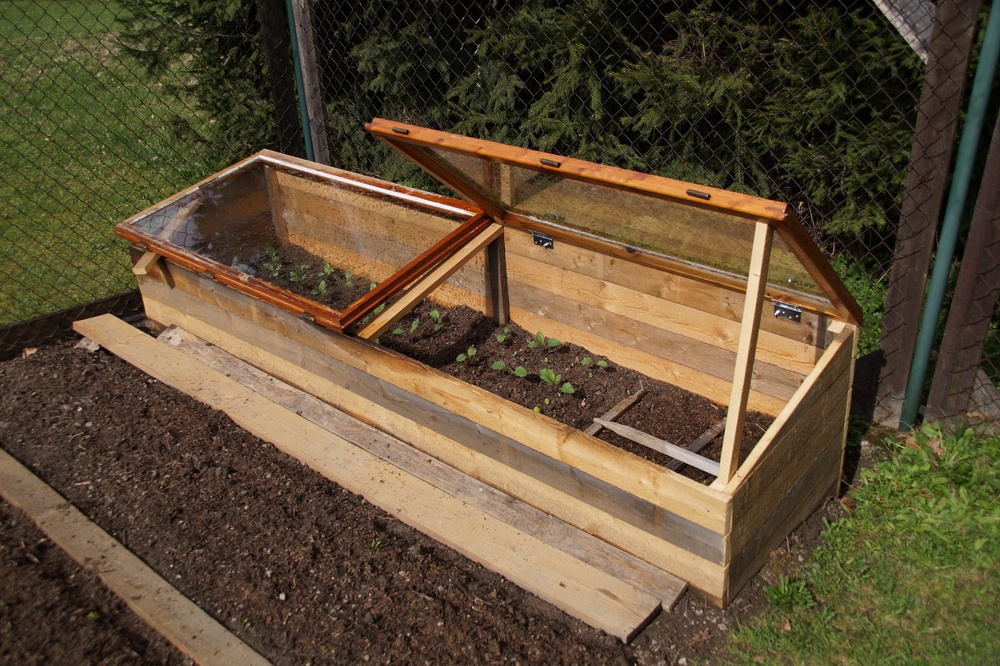
You can easily make your own cold frames at home. You just need basic materials and you are good to go. Provided below are the steps in making one.
You can either use timber, plastic, concrete bricks or blocks as a cold frame. Most gardeners prefer using wood in building the frame. You will also be needing hand tools and paint to construct and design it.
For a simple cold frame, you may utilize the materials provided below to construct one. Here are the things that you need for this project:
Make sure to purchase extra materials in case that you need a spare or lose one. With this, you are assured that you will not have another unnecessary trip to the hardware store.
Using your selected material, measure out the size of the cold frame. Construct it by forming a box-like shape. To join the pieces on the side, you can use a perforated steel angle.
Screwing the hex bolts are easier to do on wood material. Make sure that you have a 90-degree angle on the sides as you place each of the bolts.
You have the option to color the exterior using a non-toxic paint. Once your box is completed, measure its length and width and start making the top cover’s frame.
Using the length and width measurements of the box, construct your lid frame. Cut your clear pine in four pieces.
Here is the trick in making this frame. Have two pieces that are one inch longer than the other two. In this way, you can attach them together and still arrive with the same measurements of the constructed box.
Using an L-shaped steel brackets, join the pieces securely. To secure the sides of the frame, cut a plywood scrap in a triangular shape. Screw these pieces to the sides of the frame to add durability even when the box is opened or closed regularly.
Then, you can attach the hinges on its side to act as the opening flap from the box. Screw the hinges on the lid using wood screws.
Lay your lid frame on the top of your box and mark the areas where it needs to be drilled. Next, drill around a quarter of an inch-deep holes on the markings in your box. Use your hex bolts in fastening the hinges on the plywood.
Remember to utilize washers to secure the nuts as well as the plywood. Should you encounter a lid that is not in the shape of a square, you can always push a little on the box corners to adjust its shape.
First, detach the lid frame from the box by removing its hinge bolts. Place marking on where everything should be aligned to help you put it back later. Circle the screw holes to act as your guide for later.
Cut a sheet of plastic or glass which can perfectly lay attached to your lid frame. For plastic sheets, you may utilize a staple gun to secure it in place. To prevent it from tearing, place a thin cardboard in between your fasteners and the plastic.
On the other hand, if you are using a glass sheet, you can use a heavy-duty glass glue. Let it dry for a couple of days before using it for cold frame gardening (for winter). Lay the lid on top of the box and attach again the hinges with bolts.
Cold frames aid in maintaining the temperature of the seeds and plants inside. You can utilize an insulation board made from thick foam to enhance the insulating capabilities of your cold frame. Because it snows a lot in winter, you may also need a snow thrower to protect your garden.
We also recommend you place pieces of the insulation board on the lid and cover the entire box with a tablecloth. Moreover, placing milk jugs or water bottles inside to prevent swings in temperature. Over-all, cold frame gardening (for winter) aids in growing your crops or plants during the cold weather.
Pin It!