Menu
Lavender is an excellent addition to either a herb or floral garden. Lavender comes in so many types that you could easily cultivate it in many locations! This lavender growing tutorial for novices will show you all you need to know!
Lavender is a favorite of bees and has a variety of medical purposes. Lavendula is the scientific name for a genus of flowering plants that includes more than 30 species of evergreen shrubs in the mint family.
Scent glands may be found on the leaves and the bluish-purple blooms. The majority of lavender species are found in the Mediterranean, Atlantic, Asia Minor, and India. They are, however, grown all over the world and frequently used in perfumery and aromatherapy for their fresh, clean smell. The fragrant blooms and slender leaves are frequently preserved and used in sachets of potpourri.
Stills were utilized in ancient Egypt to extract essential oils from lavender for use in mummification procedures.
Lavender can be planted in the spring or fall, depending on where you live.
Lavender should be planted in the spring in cooler areas (zones 7 and north). In colder climates, planting in the spring will give your plant time to establish in the spring, summer, and fall, allowing it to prepare for the colder winter ahead.
In hotter areas, though, you’ll want to plant it in the fall, after the weather begins to calm down. This will give it the rest of the fall, winter, and the early part of spring to establish itself before it has to contend with the sweltering summer temperatures.
If you’re planting lavender in a tiny pot that you can relocate, you may do either, presuming you’ll bring the plant inside when the weather turns too cold or too hot. (For example, on hot days, leave it out in the morning and bring it in during the afternoon heat, and vice versa on chilly days).
The first thing to do is clear your growing area and ammend the soil as I described above.
Dig a hole twice as wide as your root ball if you’re growing in the earth. Do not amend the soil that will be used to backfill the hole at this time. All of the repairing you performed (or didn’t do) to the entire region should be considered.
Remove the root ball of your lavender from its container and massage it. It’s a good idea to stir the roots a little so they don’t all grow in a circle. Roots sticking out in all directions are what you want to see so that they may develop into the soil rather than getting root locked in the ground.
Fill the hole with the soil you took out of the hole and place your plant in it. Water the area well to ensure that any air pockets are filled.
Mulch should not be used around lavender plants. Mulch has a number of benefits, one of which is that it helps the soil retain moisture, which is precisely what lavender plants dislike. Use a thin coating of gravel type mulch if you must use mulch for cosmetic reasons.
Water your lavender plant(s) 1-2 times per week after planting until they are established.
If you live in a region where it rains frequently, you shouldn’t have to water your plants as often after they’re established. Because lavender doesn’t require a lot of water, the rain should enough.
Otherwise, if you reside in a dry environment, make sure your lavender is well watered every other week once it has established itself. During flowering season, reduce watering to 1-2 times per week.
This is very important, as watering your lavender too often can cause it to wilt and die.
Lavender is a plant that thrives in the absence of a lot of fertilizer. In fact, too much nitrogen might cause your lavender’s flowering cycle to be disrupted, so go easy on it.
If you wish to fertilize, the finest time is in the spring, when new growth is beginning. This will ensure that you are assisting your plant in preparing for the season’s new leaf growth rather than interfering with bloom season.
Pruning your lavender plants is one of the things you should do on a regular basis to maintain them healthy. They’ll get straggly and won’t bloom as strongly if you don’t prune them.
Lavender should be clipped twice a year in general. In the spring, lavender should be trimmed lightly, and then again in the mid- to late-summer or early-autumn. To keep your lavender looking beautiful in the spring, just conduct a minor cleansing of buds that have already blossomed. It’s not too difficult, and you can play it almost entirely by ear.
The second prune will be a rigorous pruning of your lavender plant. You should trim your lavender by half, up to two thirds, during this pruning. This is what will keep your plants healthy throughout the winter and into the next year.
A word of caution: when trimming, avoid cutting into the woody stems below the green growth. Stems that have lost all of their growth will not regrow. Instead, you want to diminish the plant’s size while keeping part of its growth intact. This will ensure that your lavender can regrow the next year.
You should also trim your plant to create a natural-looking mound or dome form. This will guarantee that your plant has the best possible appearance.
We’ll go through how to grow your lavender plant from cuttings in this part. This is a simple procedure that should regularly produce decent results.
Taking Cuttings from Your Plant
While non-flowering cuttings taken during regular pruning can be rooted, the optimal time to take cuttings expressly for propagation is during spring growth before your plant flowers.
This keeps your cuttings in vegetation mode and geared toward growth.
Look for fresh growth immediately above the woody stems from the previous year. Cut off the fresh branches with no blossoms slightly above the woody stem and save them for propagation.
You want to choose shoots with at least three leaf nodes on them.
Go back and snip off everything above the third node once you’ve collected all of the cuttings you’ll need. Then remove all of the lower leaves until you’re left with only the top node’s leaves.
Dip all of your cuttings in rooting powder to offer rooting hormone, which will aid in the growth of your cuttings. Fill a plant tray halfway with sterile seed germination mix or a 50/50 mix of pearlite and peat with all of your cuttings.
Mist your tray just enough to dampen the top of your soil and soak the leaves. You don’t want your soil to be too damp since lavender doesn’t appreciate being too wet. However, you will want to maintain the humidity high, so keep them under a humidity dome.
As the soil dries out, you’ll want to spray the tray every now and again. Place them under a grow light if you have one and keep the plants indoors throughout propagation.
All that’s left now is to wait for your cuttings to root. After 2-3 weeks, if you’ve followed all of the preceding stages, you should observe some rooting.
Every few days, gently tug on your plants to examine how the roots are developing. You’ll want to be careful with this since you’re only checking to see if the plant has roots that attach it to the dirt.
You don’t want to damage the roots, as they’re going to be very delicate at this phase. Reduce your misting and start keeping the humidity dome off for extended lengths of time after you observe roots forming to help wean the plants from the dome.
It’s time to transplant them up to little pots so they can grow up to the point where they’re ready to be transferred out to their final home after this is done and you can see some roots starting to fill out the cells in the tray.
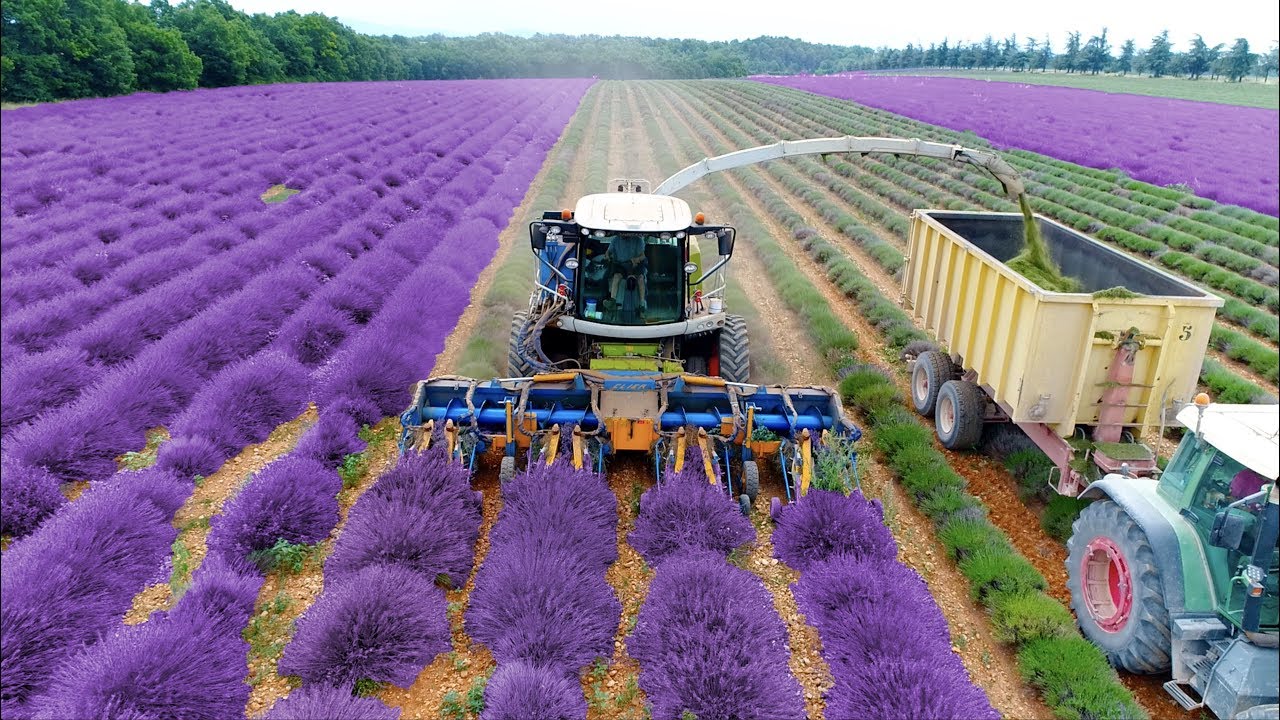
Flowers should be picked while their essential oils are at their peak for use in compound butters, conserves, and jams, or dried for herbal cures, potpourri, or sachets.
On a soft focus background, a close up horizontal image of purple lavender flowers blossoming in the garden.
Harvest in the morning after the dew has dried, when approximately half the blossoms on the stalks are open — this is when the oils are at their greatest and not yet scattered by scorching sunshine.
Grab a handful of stems and clip them just above the leaves to make them as long as possible. Clean, sterilized scissors or garden snips should be used. Gather stems into tiny bundles and tie with twine or an elastic band.
Hang the bundles somewhere cool, dark, and dry with plenty of air movement. In three to four weeks, the flowers will be completely dried. When the flowers are dry, shake or remove them from the stems and put them in a glass jar with a tight-fitting cover.
To keep towels, linens, or garments smelling lovely and repelling moths, store lavender flowers in a covered container somewhere cold and dark, or put them straight into a sachet. If you suffer from insomnia, try stuffing the sachets inside a pillow to let the relaxing smell help you fall asleep.
Lavender is a lovely plant that thrives in a variety of temperatures. It is a hardy plant that can withstand drought. Lavender is a fragrant plant that may also be used to produce essential oils.
What’s more, once you get it established, it’s a really low-maintenance plant. All you have to do is prune it every now and again to keep it happy.
The problem is getting lavender to the point where it can be established in the first place. If you follow this instructions, you should be able to do so without difficulty, and after you’ve done so, you’ll be well on your way to producing lavender effectively.
