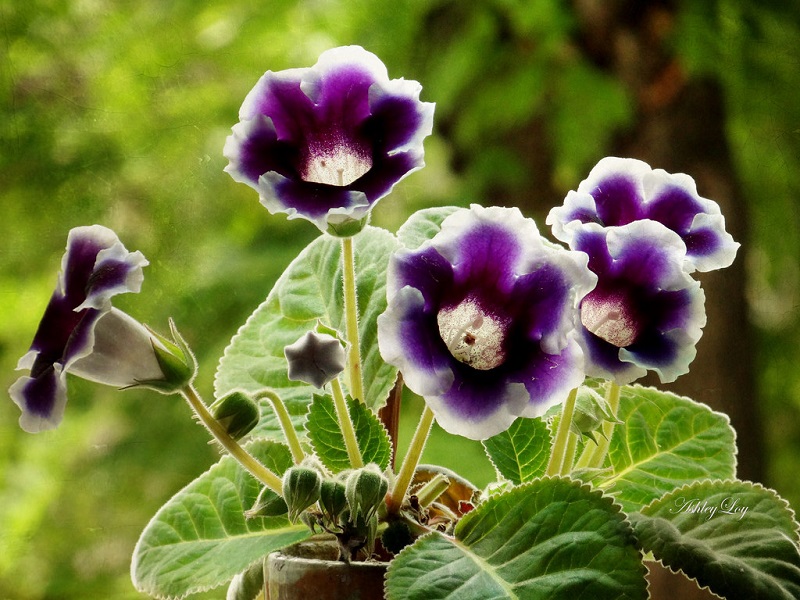
Gloxinias grow best in porous soil. I use equal parts of leafmold or peatmoss and sandy soil with a 6-inch pot of processed cow or sheep manure for each bushel. Before planting, soak tubersin a 1-200 solution of Carco-X or other fungicide.
Apply the same solution to the
potting soil of tubers, cuttings, seedlings or seed, and wait about two days before planting. Subsequent applications direct to moistened soil in the pots of growing gloxinias will keep them free of common troubles.
Start fertilizing as soon as you see flower buds, and continue at biweekly intervals until the plant reaches its peak of bloom. Use a fertilizer which contains the minor or trace elements (boron, manganese, etc.). If these are not present in the brand you are using, switch to another, or buy packaged trace elements and apply them in conjunction with the major-element fertilizer.
Light and Water
Plenty of light is essential but avoid direct sunshine which burns leaves and wilts flowers. On the shaded top deck in the greenhouse, where I grow most of my gloxinias, they receive on a summer day about 2000 foot-candles of light at 12:30 P.M. Plants raised in poor light tend to grow too tall and are slow to bud.
Gloxinias grown under constant water level, that is, where the soil is always kept moist, bud much faster than those watered only when the soil obviously needs it.
Health Program and Storing
Thrips, red spider, cyclamen mite, and crown rot, are the worst annoyances. Good culture is the best preventative, but any of the “medicines” prescribed for other exotic houseplants will work on gloxinias.
If you are loath to use poisonous sprays and powders, try Carco-X on gloxinias and other tuberous-rooted plants. This tar derivative practically exterminates all the usual pests and is a marvelous fungicide as well.
After plants finish flowering, gradually withhold water to dry off the tubers. I like to lay the pots on their sides while tubers are being dried off and, when they are dry, store them so in a 50-degree room. Or tubers can be removed from pots and stored in plastic sacks of vermiculite.
Advantages of Seed
Gloxinias can be propagated from seed, leaf or plant cuttings, or tuber divisions. You get the best return for your money as well as the best-formed tubers when you grow from seed. Species come true to form from seed; varieties do not, and you get a wide range of colors from a packet of seeds.
The seeds are very fine. Sown in February and grown under optimum conditions, they produce flowers by late May or June; those given only general care will not flower until August or September.
Sow the seeds on light soil or in vermiculite or milled sphagnum and peat moss.
Sprinkle on top of the moistened medium, press down lightly, but do not cover with soil. Put glass over them and set in a warm house.
If seeds are reasonably fresh, germination takes place in 7 to 10 days. As seedlings grow, plant them 2 inches apart in a flat of light soil or the soil recommended for tubers. When leaves touch, shift into 3-inch pots. Another shift—to 5-inchers—is advisable before blooming time.
Liquid fertilizer applied at 2-week intervals will bring on a good quantity of flower buds.
Gloxinias from, Leaf Cuttings
Should you want more of some named hybrids, propagate by leaf cuttings. Cut the petiole about an inch long and insert it in any sterilized growing medium.
Roots form in 4 to 6 weeks. Sometimes the old leaf dies after forming a new tuber, or it may send up a new plant or two before bowing out. If new plants show, cut off and pot up in 4-inch pots and give the same culture as for potted tubers.
Otherwise, keep the tubers in the flat, giving them an occasional watering, until they sprout; then move to 4-inch pots.
