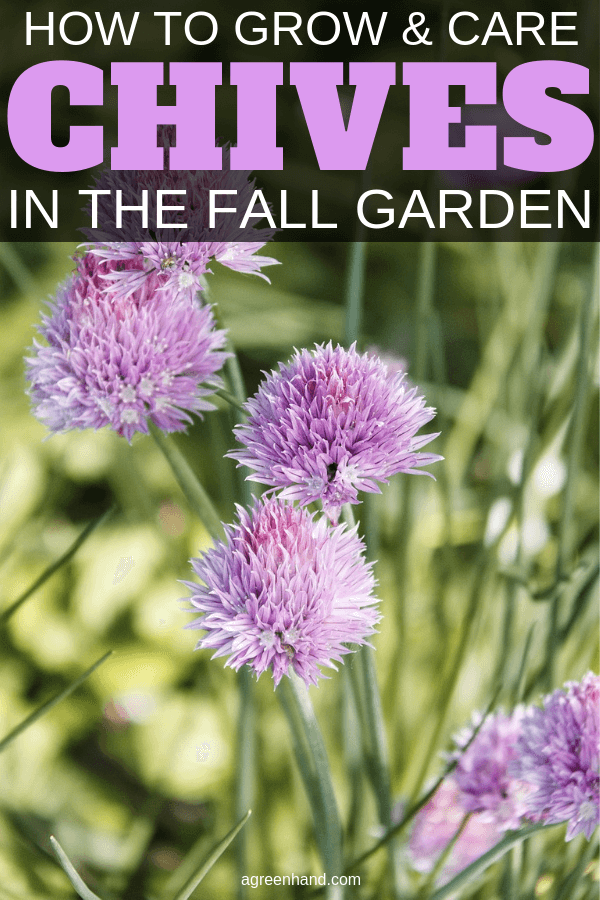
Menu
Fall is a prime season to divide, conquer, and relocate perennials like chives, which tend to form dense clusters restricting root growth. Many herbs benefit from spring division but common chives, Allium schoenoprasum, and garlic chives, A. tuberosum, are champions of cool weather as long as their roots have space to grow. Well-rooted chives are hardy in USDA zones 3-10.
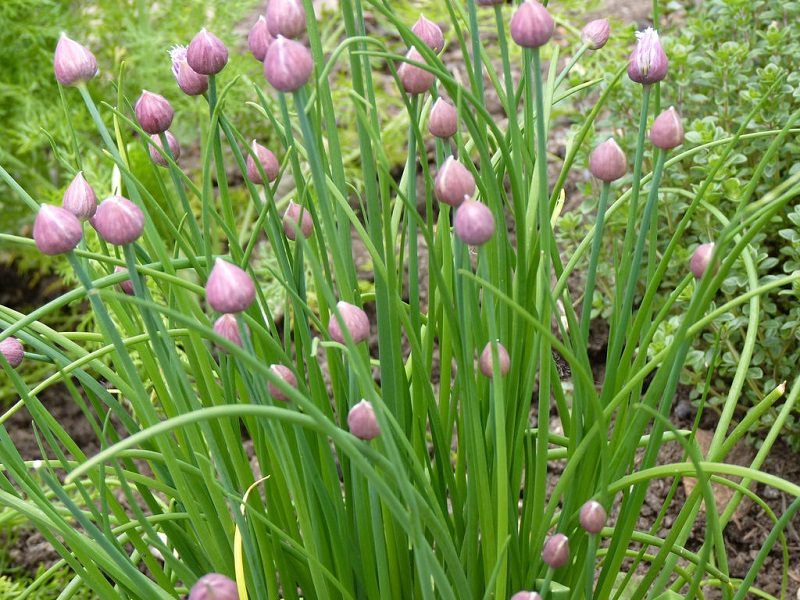
When divided in fall, chives will begin burgeoning by bunching before the onset of winter. You will be able to use this versatile ornamental edible all year long. Moreover, common chives divided in early fall will still furnish beautiful lavender or pink flowers in spring.
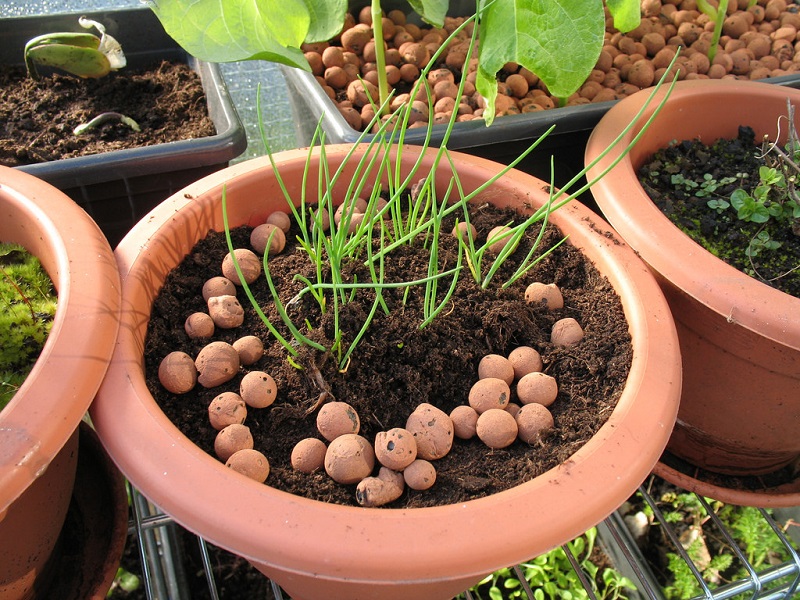
Consider the placement for newly propagated divisions. Will they be transplanted into ground-level beds, raised beds, outdoor containers, or indoor windowsill pots? How many transplants will you share with friends, neighbors, or community gardens?
Chives prefer six hours of sunlight per day in rich and well-drained soil with a pH of between 6.0 and 7.0. Amend chive beds with a balanced fertilizer like 20-20-20. Container grown plants require more frequent fertilization. Many herb growers recommend fish emulsion or compost tea for container herbs. Dry chemical fertilizers should not be used on container grown herbs since they can burn the roots.
Sprinkle chive plants with water several hours prior to dividing in order to have plants standing tall and to ease the separation of the bulbous roots.
Use scissors to give your chives a flat top by snipping off the green grass-like leaves to a 4-inch length. Save the clippings by freezing them. Chives cannot be dried but they remain freshly flavorful when frozen.
To remove crowded container grown chives, roll the container on its side and tap around the side of the container until the clump loosens. Rootbound container chive clumps may need cutting apart with a utility knife.
To remove chives from beds loosen the soil around the clump with a spade or digging fork and lift up and out.
To initiate the separation of a tightly packed clump drop the clump on its side from knee height. Grab bouquets of five plants just below the soil and gently tear them away from the mother clump. Counting bulbous roots is a way to determine the number of plants you have in each transplant bouquet.
Instantly replant the divided bouquets ½ inch deeper than their original depth and 4-6 inches apart. Water once again.
Within a week or two, the chives should produce new growth, a good sign the roots have adapted and anchored to their new location.
Plan to dig, divide, conquer and reset chive clumps every two to three years for maximum productivity and longevity.