Menu
I’m going to do some edging today and I got my edging from Big Lots, normally 6$ for 250 foot rolls, about 4 inches tall. And I got it for like 4$ because it’s at the end of the season so it’s good time to get some deals. It’s has a piece on the end and this slides into the end of the tubing to connect to the next tubing.
First thing you do is you want to lay it out and in my case, I’m laying it out on my driveway sense up right out here. This will help flatten it out so that’s first step.
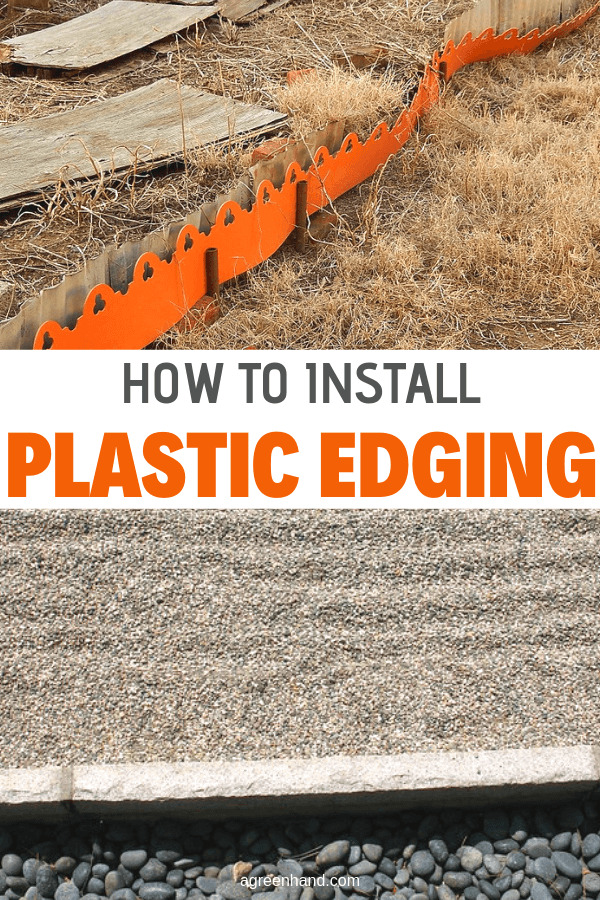
Here’s the finish stretch that I’ve already installed. This is going along a landscaping bed that’s raised and it’s already got pea gravel on it. I’ve done about half of it and so on, now I’m going to come around this side so this has not been laid yet.
Next, brush all the pea gravel away, so you have room to work and then you’re going to be digging a trench basically to take the edging.
My soul is pretty loose so I don’t really need to use it very often but anyway I’ve got it out here. I’m able just to use a nice little trowel garden. I have a little tile cutting device knife also that I can scrape in the soil actually and make me a trench and then dig it out with the trowel.
Then it has a nice edge to it so the next thing I’m going to do is connect the new piece here with the old piece that’s already installed. There’s a 4 inchess tube that came with it. It slides into the ends of all the RTN and the new piece. Then you basically just slide them together like so.
When you’re ready to start laying the new piece and you basically just put it down the soil, put in the hole you’ve already create. How the dirt kind of gravel around it.
So if you look at the end of the piece that’s got two edges on one side, and one on the other side, this is to hold it. Place the dirt in the gravel will go down on top of that so the two pieces should go on the side away from the grass a little space towards my landscaping.
Here’s the dirt pack back down, you can just walk it in with your foot so some on the outside too if you’ve over dug a little bit. Pack it into, go ahead and pull the gravel down onto it, giving it a nice finished edge.
I’m just going to leave it but here is the finished product and around this, very large landscaping bed and the critical thing is when you’re digging your trench, make the vertical side away from the grass. Make sure that’s as vertical as possible, because that’s where it’s going to stand up and the other side doesn’t have to be vertical because you’re going to fill it in with dirt or rock.
You can use a string line or paint a line if you don’t already have a line established like I did.