Menu
Flowers are a great, beautiful, and thoughtful present, but they don’t last forever. It’s always sad to see our once vibrant gift turn brown. At the same time, flowers are easy to replace, and an online retailer or floral shop can set you up with a new bouquet. Still, what about those times when a special memory ties you to your unique blooms? In that case, you can preserve them.
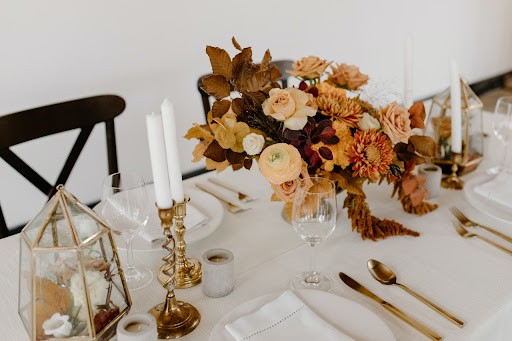
Image Source: Pexels
Flowers are a great, beautiful, and thoughtful present, but they don’t last forever. It’s always sad to see our once vibrant gift turn brown. At the same time, flowers are easy to replace, and an online retailer or floral shop can set you up with a new bouquet. Still, what about those times when a special memory ties you to your unique blooms? In that case, you can preserve them.
Drying flowers is a popular option for saving a sentimental bouquet. Not only will dried flowers keep a precious memory alive, but they can be used as decor to add a romantic feel to your home. Creative homemakers can even create potpourri and necklaces with dried bouquets.
Foodies that plan on trying edible flowers for the first time may want to use one of the following drying techniques to extend the shelf-life of their flowers.
Let’s take a closer look at how each method works and what preserving options they serve.
One of the best ways to dry flowers like orchids or roses, especially bouquets, is by air drying them, but a flower dehydrator can do the same thing with half the time and effort. Still, both techniques can take several hours or days. If you’re in a rush, put your flowers in the oven or microwave.
To prepare your bouquet for air drying, remove all extra foliage from the flower stems. You can keep a few leaves, but not all of them. Group 3-5 flowers together and tie a string around the base. Set up a pole or stick (hangers work too) in a dark environment with minimal light, so the color doesn’t face. Wrap your flowers on your pole/stick and wait 3-4 weeks before displaying them.
Preheat your oven on the lowest heat setting possible and place a sheet of wax paper on a cookie sheet. Layout your flowers on the sheet in a way that they won’t touch or overlap each other. Place them in the oven with the door cracked slightly for 8-12 hours before displaying.
Grab a microwave-safe bowl and pour silica sand inside until it completely surrounds your flowers. If they don’t fit, trim them to size and try again. Fill a cup with water and place it in the microwave along with the bowl and nuke your flowers on high for 30-seconds 4-6 times.
A dehydrator, like the ones people use for making dried fruit, can also be used to dry flowers. Place your blooms in the dehydrator without them overlapping each other and set the machine for 100-degrees. The dehydration process can take 2-3 hours. Then, you can press them.
Preserving flowers for a craft project is fun and rewarding. Alternatively, you could use other preservation methods to extend your flower’s shelf life. Regardless, you have plenty of options to choose from! Here are a few tips on how to dress up your flowers once they’re dried.
Edible flowers have a shelf life and must be eaten 3 days after picking or 4 days after placing them in an airtight container, or 5 days after candying. They taste the best when freshly picked.
