Menu
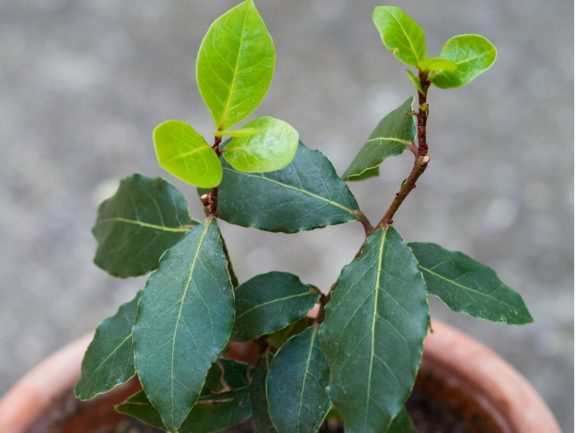
If you’ve got a bay tree (Laurus nobilis) growing in your garden or on your patio, you’re in for a treat. Not only is it a gorgeous evergreen, but those aromatic leaves are also a kitchen superstar. Whether you’re a newbie gardener or a seasoned pro, keeping your bay tree happy in a pot requires some know-how—especially when it comes to repotting and care. Don’t worry, though; I’ve got you covered with this step-by-step guide. Let’s dive in and give your bay tree the love it deserves!
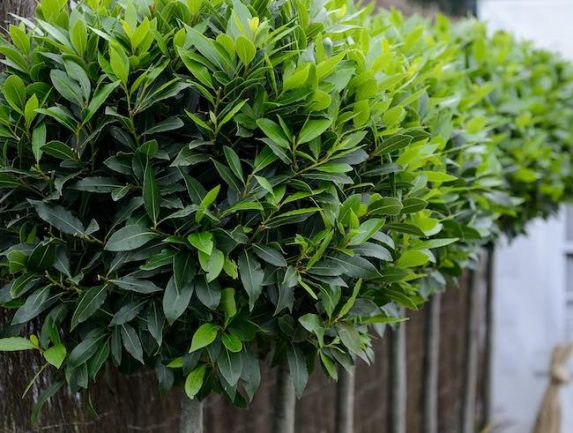
Bay trees are champs at growing in containers, but they can’t stay in the same pot forever. Over time, their roots get cramped—imagine being stuck in a pair of shoes two sizes too small! This “root-bound” situation can choke their growth, leaving you with a tree that’s less than thrilled. Repotting is the solution, offering:
If your bay tree’s been in its current pot for a couple of years or looks like it’s slowing down, it’s time to upgrade its home.
Timing is key. The sweet spot for repotting is spring, right before the growing season starts. Why? It gives your tree a chance to bounce back from the move and take advantage of warmer weather. Avoid winter (when it’s snoozing) or peak summer (when it’s stressed). Spring is your go-to season for a smooth transition.
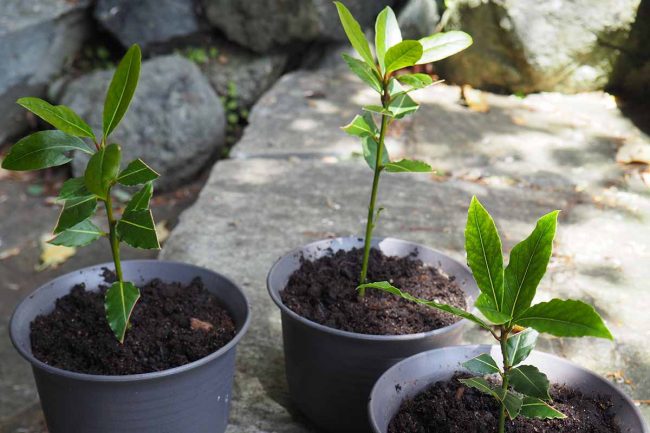
Repotting might sound tricky, but it’s simpler than you think. Here’s how to do it right:
Choose a new pot that’s 2-3 inches wider than the old one. Too big, and the soil stays soggy; too small, and you’ll be doing this again soon. Drainage holes are a must—bay trees hate wet feet!
Set up the new pot for success:
Time to get your tree out of its old pot:
Give those roots a once-over:
Place the tree in the center of the new pot. The top of the root ball should sit about an inch below the rim—don’t bury it too deep.
Fill in around the root ball with your potting mix. Press it down lightly to remove air pockets, but don’t compact it too hard—roots need breathing room.
Give your tree a good soak until water runs out the drainage holes. Let it drain completely—no soggy bottoms allowed!
Repotting is just the start. Here’s how to keep your bay tree thriving year-round:
Bay trees love full sun but can handle partial shade. Indoors? Put it near a sunny window with at least 6 hours of light. No sun? A grow light can save the day.
Water when the top inch of soil feels dry—stick your finger in to check. Water thoroughly, but make sure the pot drains well. In winter, ease up since growth slows.
During spring and summer, give it a balanced, slow-release fertilizer (like 10-10-10). Don’t overdo it—too much can make it grow leggy instead of leafy.
Prune in late winter or early spring to keep it tidy:
Bay trees are tough, but pests like scale, aphids, or spider mites can sneak in:
Bay trees can handle down to 20°F (-6°C), but colder than that? Bring it inside:
Sometimes, things go off track. Here’s how to fix common problems:

Your bay tree’s leaves are culinary gold! They add a subtle, earthy flavor to soups, stews, and sauces:
Feeling adventurous? Steep a few leaves in hot water for a cozy bay leaf tea.
There you go—a full rundown on repotting and caring for your bay tree! With a little effort, you’ll have a lush, leafy plant that’s ready to flavor your meals and beautify your space. So, grab that pot, get your hands dirty, and watch your bay tree thrive. Happy gardening!
