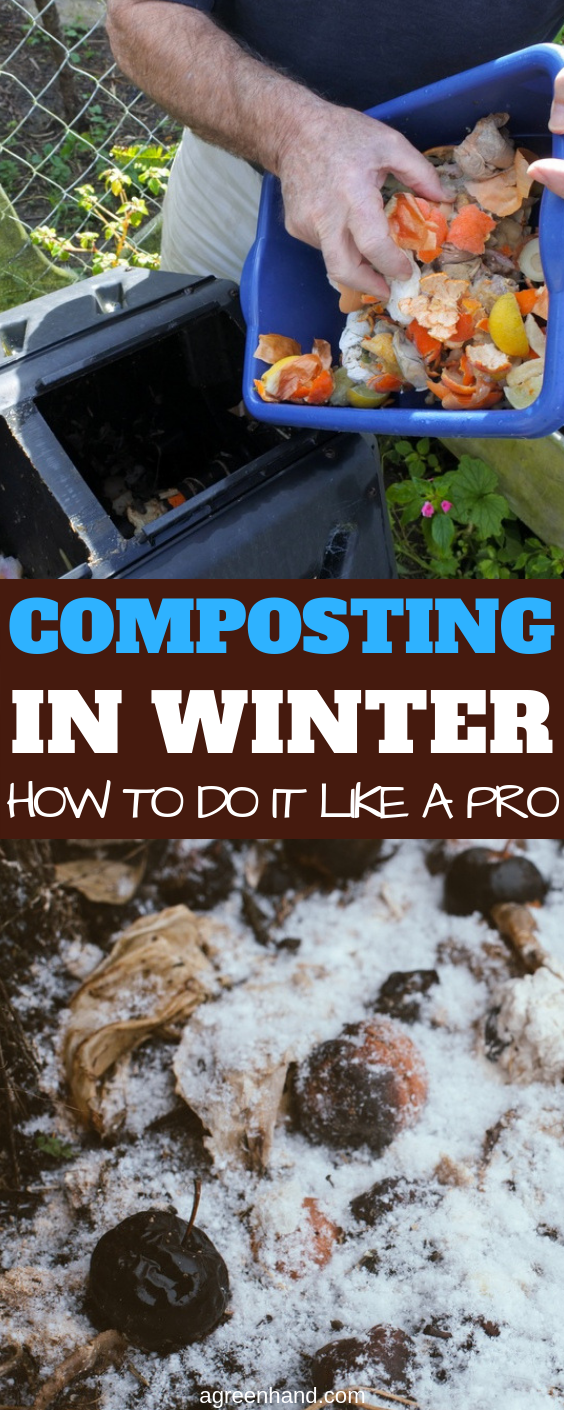
You don’t need to be a professional to make composting in winter possible. The cold weather, strong winds, and piling snow may make it difficult; but it is doable. You might be wondering if composting in the cold season is worth all the trouble. It depends on your dedication as an organic farmer, but doing the hard work sure has its perks!
Keeping your compost active in winter can keep your kitchen scraps useful. The compost you make will also give you abundant reserve so that you're ready when springtime comes. Plus, it's a good winter workout!
What You Need
Brown Materials (Carbon-rich)
These give the bacteria energy. These materials keep your compost dry and stop it from producing foul odor. Examples are:
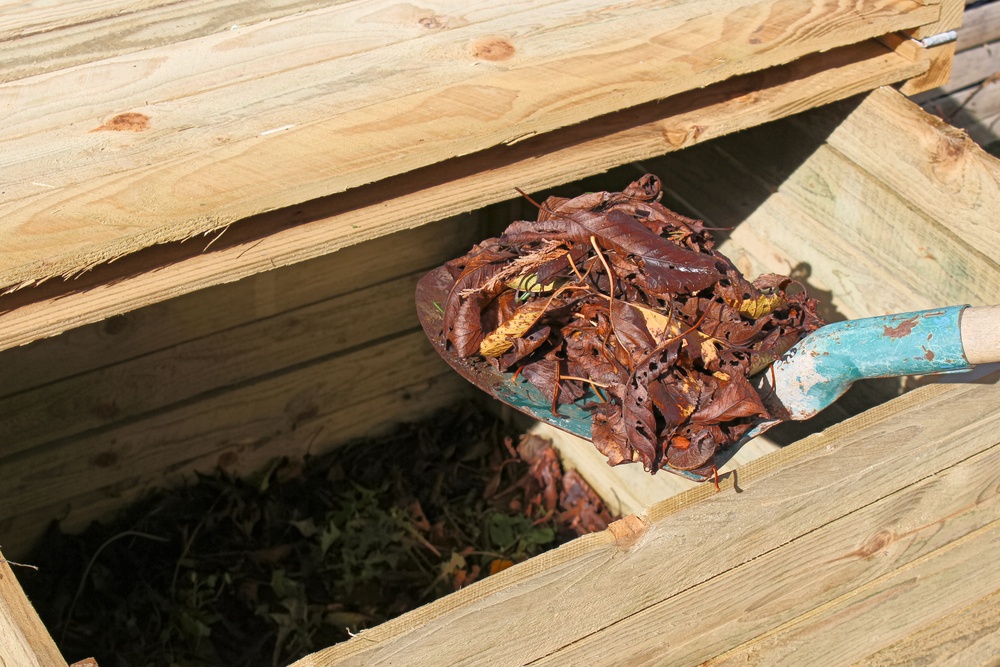
- Dried leaves
- Hay
- Straw
- Paper and Cardboard
- Eggshells
- Teabags
- Sawdust
- Wood ashes
- Pine needles
Green Materials (Nitrogen-rich)
These materials aids in growth, strength, and reproduction of compost microbes. These are rich in water content. You’ll have continuous supply of this even in winter.
Examples are:
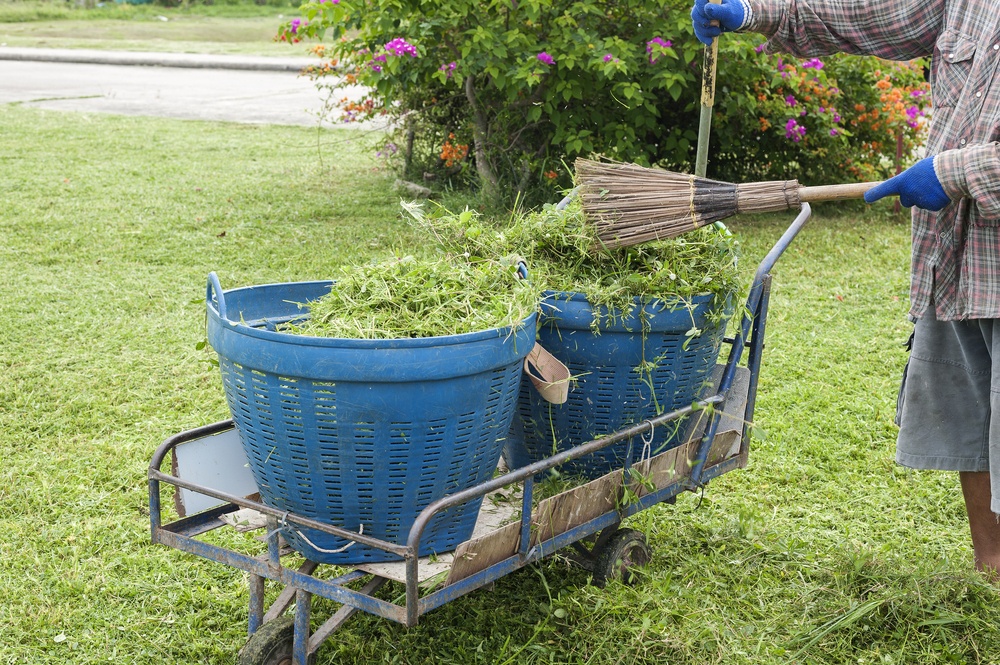
- Fruit and Vegetable peelings
- Grass clippings
- Garden Weeds
- Fresh manure
- Coffee grounds
- Seaweeds
- Plant Cuttings
Pitch Fork
Burlap Sack
Compost Thermometer
Corrugated roofing or tarpaulin sheets
Garden Soil
Water
Compost Bin
Instructions For New Compost

While the first snow didn’t fall yet, you still have time to start composting. (Do you know that we can use a lawn tractor for snow removal?)
Collect the twigs and leaves that fell from your trees during the fall.
Shred green and brown materials in pieces. Each piece should be less than two inches in size. Smaller pieces will allow a uniform spread of heat and it will decompose faster. You can use a lawn mower, garden scissors, or even your gloved hands to shred the materials.
Dig up a depth of 1 or 2 feet in the soil where you’ll put your compost pile.This helps with the insulation of the pile. It will help in keeping the microbial activity going.
Spread 6 inches thick of brown materials directly to the soil of your compost bin.
Add 6 inches of green materials on top of the brown layer.
Cover with a thin layer of garden soil.
Sprinkle with just enough water. Aim to keep it moist but not wet. Soggy compost will produce a foul odor and it slows down decomposition.
Repeat steps 3-6 until your pile reaches a height of 3 feet.
The last layer should be brown materials to keep the compost insulated.
Create a hole in the middle of your pile for you to dump your kitchen scraps on when the winter starts.
Cover the pile with a burlap sack to aid in insulation.
Cover the bin with corrugated roofing or tarpaulin sheets to protect it from rain, snow, and pests.
Instructions For Existing Compost
If you already have existing compost but you don’t want it to stagnate, follow the instructions below:
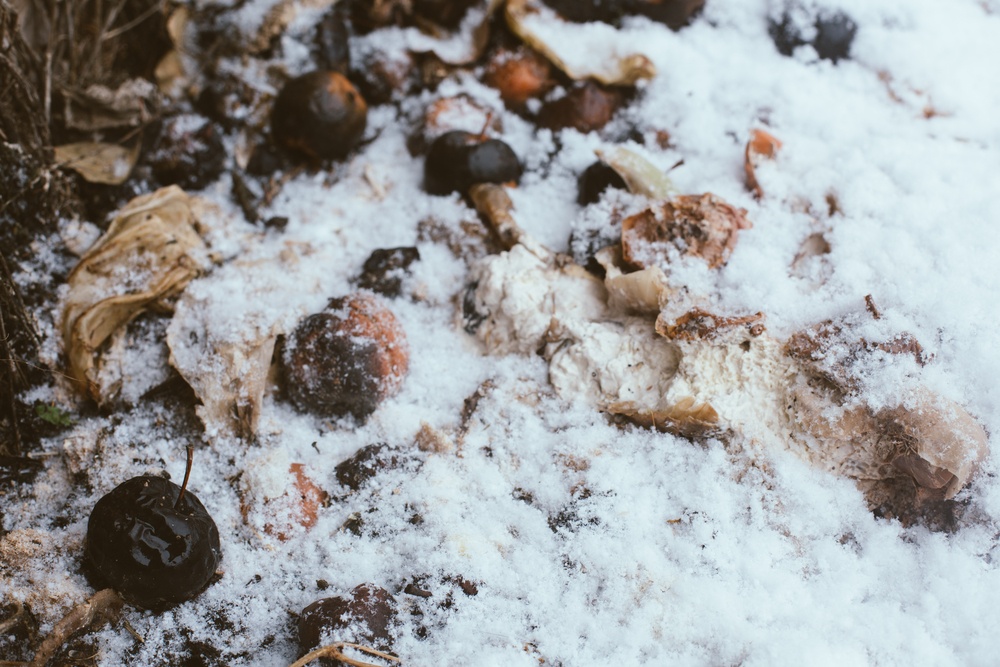
Reinforce Insulation
To ensure that the bacteria in your compost continue their activity despite the cold weather, you have to double your measures of keeping the compost warm. These activities will ensure that heat remains generated at the center of your compost pile.
- Cover the last layer of your compost with shredded leaves.
- Cover your pile with a burlap sack.
- Protect your compost bin from snow by putting a roof or using tarpaulin.
- Build a protective barrier around your compost pile. You may use burlap sack or other sturdy materials like tarpaulin, straw bales, or wood.
Turning Your Compost
Though I discourage you to turn your compost during heavy snow, it is an important activity you can do if the weather is better. Turning your pile is important for aeration and heat generation. It also speeds up the composting process and it eliminates foul odor from your compost pile.
Before turning your pile, first check the temperature. If it’s more than 100 degrees F, leave it because turning will disturb the microbial activity. Only turn if the temperature is less than 100 degrees F. Turn your pile at least once a week. As your compost matures, it’ll require you to turn less frequently.
While turning, you can also sprinkle water to each layer if your pile has dried out. Here’s a video tutorial on how to turn your compost:
Feeding Your Compost Pile
To keep the bacteria in your compost pile alive and active, you have to continue feeding them. Fill your compost pile with green materials from your kitchen scraps. Remember to chop the materials finely before putting them into your pile. After putting the green materials, cover it up with 2-3 inches of brown materials.
How To Fix A Soggy Compost Pile
If you did all the precautionary measures but your pile still end up too wet, don’t worry you can still fix it. Heavy rains and snow are the most common reasons why your compost gets soggy during winter. To fix this, you can do the following:
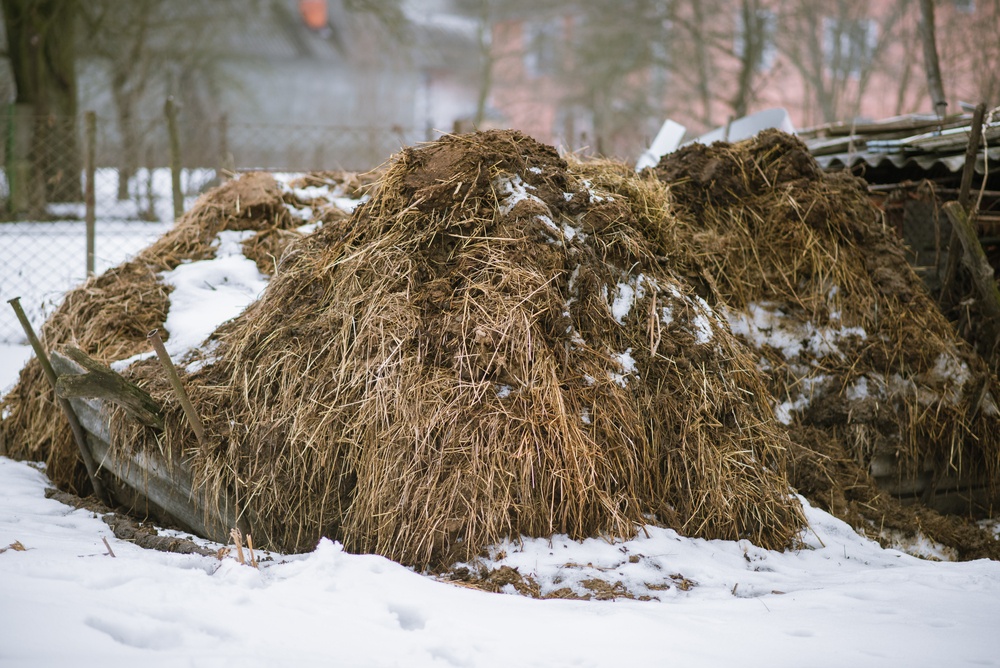
- Load more brown materials. The dry, carbon-rich materials are capable of absorbing excess moisture from your compost. Go slow on putting green materials while your pile is still soggy. The high water content of the green materials will just worsen the wet condition of your compost pile.
- Turn the compost pile.
- Remove the cover when the sun is out.
Summary
Composting in winter can be possible with the right techniques. The most important part is to get ready before the snow starts to fall. To be prepared to continue composting through the winter you have to:
- Collect as many brown materials as possible. There will be less or no source for brown materials during winter. So keep your dried leaves and twigs from fall.
- Protect your pile from snow by covering all sides and the top of your pile.
Did you enjoy this tutorial? Let me know what you think in the comment section! If you liked this article, feel free to share it!
Pin It!
